Ref 902;.- Pastel.- Gestural Drawing
The Word "gesture" or the term "gestural mark" refer to a mark that is more exploratory than exact, one line is drawn over another in free and rapid movement of the hand and wrist, the effect gives the impression of movement and the network of lines rather tan one line alone creates the image
I´m building up, my skills in this field, so the following painting is a reproduction, with the idea to make lines as somebody with experience, (before work in my own paintings); So the painting does not have to much colors, for this purpose, just line strokes with light and heavy pressure and side strokes. I was adding pastel and blending to geth the right depth of color and I use a rag like a paint brush to help build up main forms, as in my old drawings always I put special attention to the eyes (main focal point) as this is one of my first paintings this time I did a reinforcement of definition and color with brush and gouache paint, I´ll try to do everything in pastel but for the momento I felt more confident with my old painting stock.- I had a good time by the way, always is good to try different médiums - I guess
Before add additional colors:
Final result:
Strathmore paper 500 black color
It is a blog, about oil, acrylic, watercolor paintings through out several technics to improve and learn in a weekly base.- I am a person who loves art - I'm having a good time, working this blog, to keep learning, sharing and looking how to enhance the relationship of value and balance of color for my work. Art is primarily a state of the soul is not a thing, it is a way
martes, 29 de septiembre de 2015
lunes, 28 de septiembre de 2015
Ref 901;.- Diluted charcoal as texture-underpainting and watercolor
applied with syringe and finished with brush
Final result of this process;
Over hot press paper 220 gr
Step No 1.- See previous ref 900; regarding powder charcoal application
applied with syringe and finished with brush
Final result of this process;
Over hot press paper 220 gr
Step No 1.- See previous ref 900; regarding powder charcoal application
The beauty of watercolor painting, is that you don´t need many extras, you may already own most of this ítems shown here, to complement the texture underpainting accordingly
The charcoal is quite dirty so, once you have the idea impress, I rinse all the paper and while still wet I lift out some áreas with a wet brush or with a paper towel .- different amounts of color can be removed by varying the pressure
2nd Step.- Small highlights can be made by scratching into the dry paint but with this method you can have small clear área by pushing and old brush into the semi-wet paper, do not over-do it, because as you can see I scuffed a Little bit the paper, needs to be careful, all this variations are important to conform the texture you are loking for..---- Let it dry and apply a fixative over the painting to keep it as it is and in some particular clear spots you can use masking fluid
3rd Step.- I could use an sponge to add color above the underpainting, but do not forget that we are working with charcoal, and again can be activated with moisture, so I rather use a syringe to apply some clear colors above the charcoal texture - underpainting but also you can flicking and/ or spattering paint onto this surface to suggest even more texture or simply to add interest in some áreas of your painting, spattering can not be controlled easily so you need to masking with a torn paper over it, but with this method I really do not need to.
4rth Step;.- After wait to completely be dry,.. I start to reinforce painting again the shadows, and dark details,, and for this particular case again White tones over color below as another layer to conform mist and reinforce White clear spots base on light source, this color gives the life over the shadows of the underpainting
"The biggest emotion in creation is the bridge to optimism"
domingo, 27 de septiembre de 2015
Ref 900 Graphite.- Drawing with brush instead of pencil
Drawing done with graphite without using pencil, powder graphite is mixed with water and applied by brush from 3 different containers with little water, with twice amount of wáter and quite diluted--- erasing with a napkin help and creating additional body textures with a spray and tilting it --- note the drwg firm is with pencil; all over hot press paper
"Nothing is perfect, that is why the pencil has an eraser"
Drawing done with graphite without using pencil, powder graphite is mixed with water and applied by brush from 3 different containers with little water, with twice amount of wáter and quite diluted--- erasing with a napkin help and creating additional body textures with a spray and tilting it --- note the drwg firm is with pencil; all over hot press paper
"Nothing is perfect, that is why the pencil has an eraser"
sábado, 26 de septiembre de 2015
Ref 899 .- Powder Charcoal - mixed with the wáter to texturize shadows
Final result of this process
This is another way to use powder charcoal to texturize watercolor paintings
(see previous ref 898)
To show how I used; I did a photographic sequence
over hot press paper 240 gr/m2
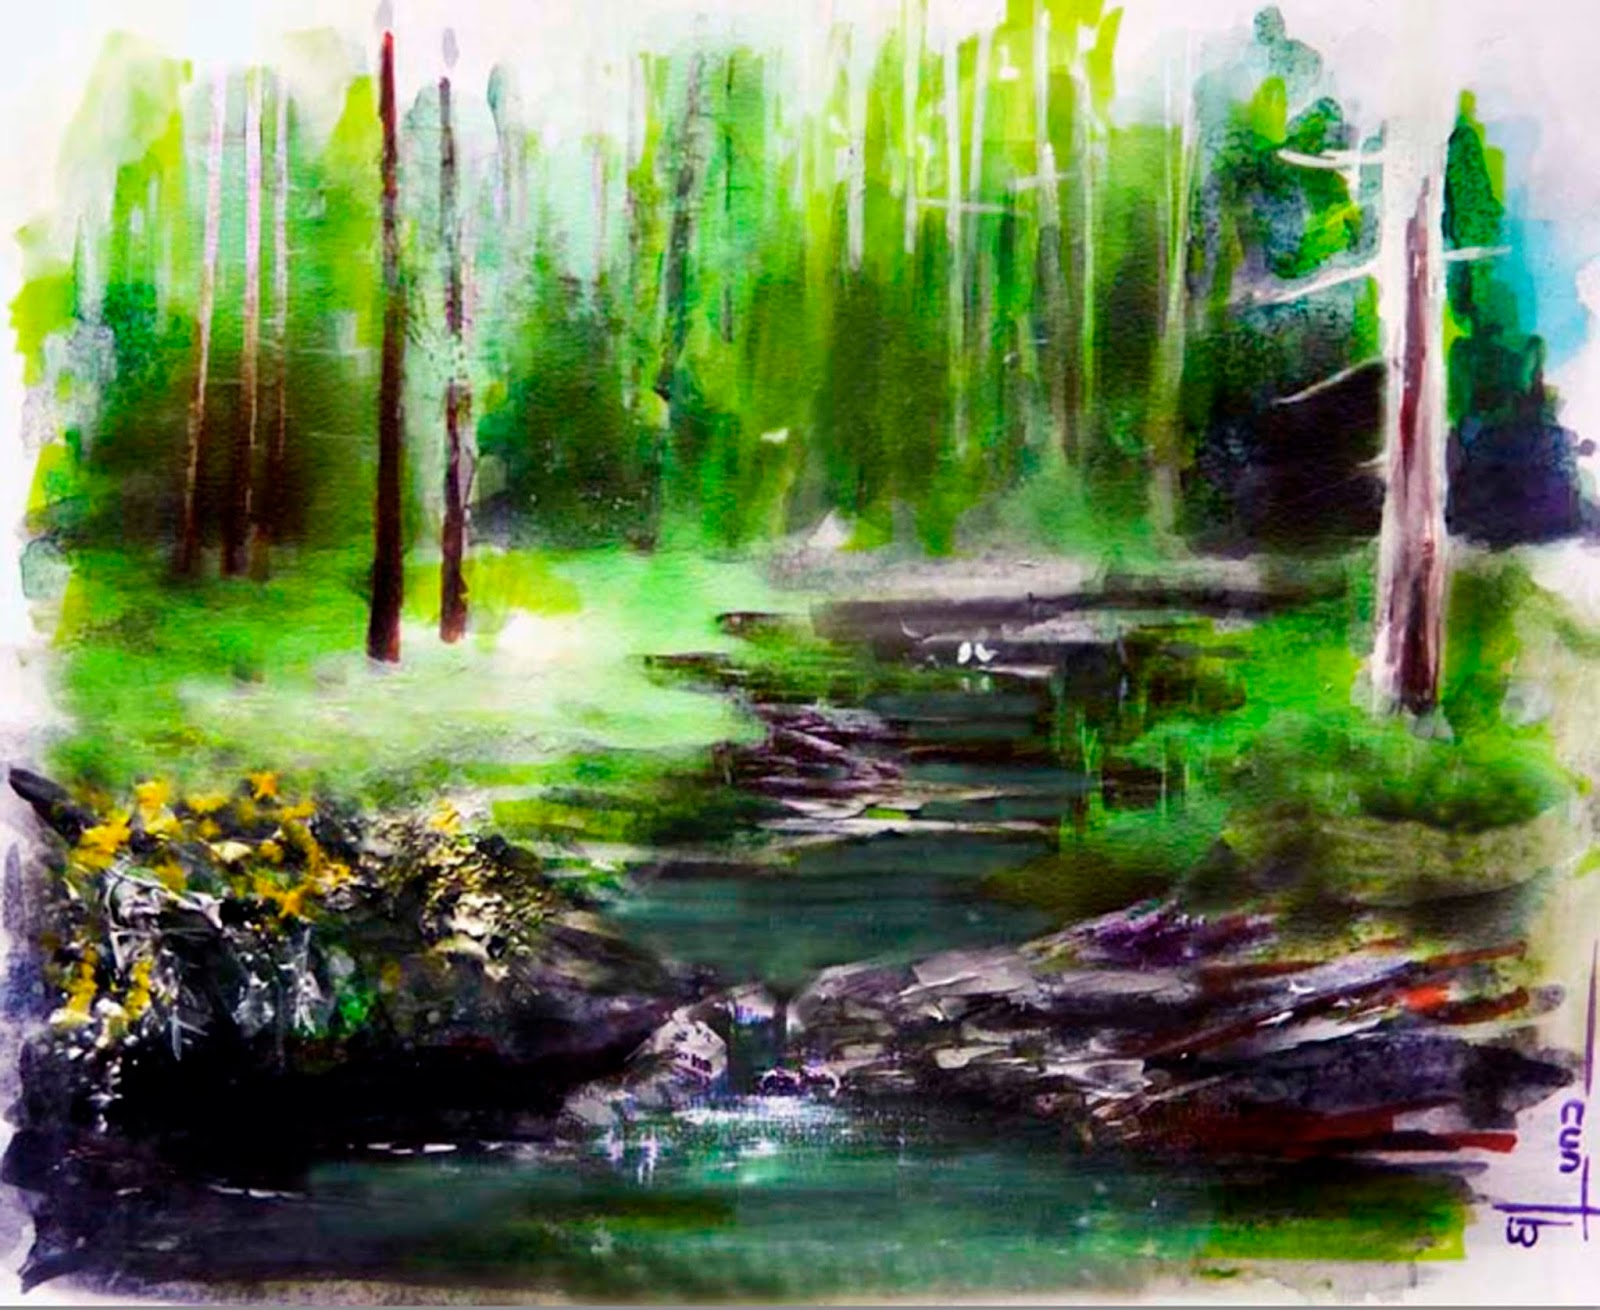
I´m using to texturize the background forest and rocks with dark colors and also another additional container with just clean wáter to mix light colors
1st step.- Sketch base in your idea (locate shadows and light source for the painting) in accordance your own methodology
2nd step.- In a container I´m adding a Little amount of powder charcoal to mix with the wáter and wet with my brush to blend with dark paint
3rd step.- Now I´m adding the brigh and or clear colors with clean wáter4th step; Its´s not easy to go from dark to light with watercolor, so to reinforce clear colors into the foreground I´m using modeling paste which have additional benefits like 3D texture and more bright and also I´m reinforcing dark colors, this method Works good however I need some practice to take advantage of it, the texture brings interest and is easy to work with if you rinse off the entire paper with clear wáter from a gente sprayer or a sink, let the paper dry and assess the patern after 2nd step, you can repeat the technique for more texture, and you can prevent smudging by lightly spraying the área with a clear acrylic fixative
Ref 898.- Pattern with Charcoal - my first try
To try this texture, first sift a light coat of pure powdered artist´s charcoal onto dry watercolor paper and/or mix in wáter and apply with a brush .--- powdered charcoal slides of a pool of wáter, but it adheres to dry paper, the result is a different texture to bring additional interest to your painting I added with a brush in the background of the following painting, and with same material to make some tattooes in the figure, ----After background dries, then I spray the área with a pump sprayer to set the texture, (now I know after additional experimentation that we need to rinse the entire paper with clear wáter and let it dry) so when I start to add color as a light layer over the painting the tattooes dissapear in a big porcentaje, that was my mistake, nevertheless I wanted to show the result the figure was made with opaque yellow (gouache) +iridicent media; then Green and blue with transparent watercolor in accordance light and shadows
Note the base pencil color in the figure vanished with the watercolor added afterward as layers, I could fix some black color like hair but the tattoes didn´t work at all .--- Creativity is allowed some mistakes, but the art is to know which to avoid next time, and by the way also I ´forgot to complete the background next to the neck --
To try this texture, first sift a light coat of pure powdered artist´s charcoal onto dry watercolor paper and/or mix in wáter and apply with a brush .--- powdered charcoal slides of a pool of wáter, but it adheres to dry paper, the result is a different texture to bring additional interest to your painting I added with a brush in the background of the following painting, and with same material to make some tattooes in the figure, ----After background dries, then I spray the área with a pump sprayer to set the texture, (now I know after additional experimentation that we need to rinse the entire paper with clear wáter and let it dry) so when I start to add color as a light layer over the painting the tattooes dissapear in a big porcentaje, that was my mistake, nevertheless I wanted to show the result the figure was made with opaque yellow (gouache) +iridicent media; then Green and blue with transparent watercolor in accordance light and shadows
Note the base pencil color in the figure vanished with the watercolor added afterward as layers, I could fix some black color like hair but the tattoes didn´t work at all .--- Creativity is allowed some mistakes, but the art is to know which to avoid next time, and by the way also I ´forgot to complete the background next to the neck --
viernes, 18 de septiembre de 2015
Ref 897.- Watercolor.- Underpainting with molding paste and it´s
effect through sandpaper
Rub a rough grade of sandpaper across a dry surface of colored molding paste / impasto; that was laid over previous dark watercolor as main color base to create some interesting texture marks. This technique can be used to créate tree bark, rocky texture, sparkles on the wáter, fine spray from a wave as it crashes into a rocky shore or anything that needs additional details, I use to conform the following painting which involves many textural forms including some tree leaves on it
Final result of this process;
Main Steps;
Exercise made over Hot Press Paper 220 gr/m2. to take advantage of its gloss properties
Step No1.-
Sketch in a loose way the main underpainting dark colors and main features of the idea, put additional emphasis in the shadows
And again we can go back to the color, I reinforce the dark colors keeping and maintening light source for the final touches, given the texture, sometimes we are able to use the foam brush given more random details to the process .- Watch the light source add light and brilliant colors you like and enhance it with white gouache
" The best things about memories is making them "
effect through sandpaper
Rub a rough grade of sandpaper across a dry surface of colored molding paste / impasto; that was laid over previous dark watercolor as main color base to create some interesting texture marks. This technique can be used to créate tree bark, rocky texture, sparkles on the wáter, fine spray from a wave as it crashes into a rocky shore or anything that needs additional details, I use to conform the following painting which involves many textural forms including some tree leaves on it
Final result of this process;
Main Steps;
Exercise made over Hot Press Paper 220 gr/m2. to take advantage of its gloss properties
Step No1.-
Sketch in a loose way the main underpainting dark colors and main features of the idea, put additional emphasis in the shadows
Step No 2.-
After first step dry; I spray Little amount of wáter so the molding paste can fix better into the paper; Mix molding paste with the paint or use it pure by applying it in one or more layers of minimal thichness with a spatula on the surface of the paper prior to painting. I used to spatula sizes one large to cover all the color (light ochre) atmosphere and one small to add texturing shapes with médium tone colors of the whole painting idea
Step 3.-
Fold sand paper and drag the folded edge across the dried molding paste to créate textural shapes, line, contours, etc. the underpainting dark color will be revelead, giving additional shape to your idea, do not overdo because the idea is to reach enough texture, the color later on can be improved
Step 4.-
The underpainting is simply what it sounds like. It is a painting under the finished painting Many painters simply skip creating an under painting, forgetting that an underpainting can make the finished painting more successful.
In most cases, an under painting's purpose is to define the shdows and highlights in a painting
Doing this allows the artist to establish a value range so that the focus can then shift to the color.
But an underpainting can establish expressive color as wellAnd again we can go back to the color, I reinforce the dark colors keeping and maintening light source for the final touches, given the texture, sometimes we are able to use the foam brush given more random details to the process .- Watch the light source add light and brilliant colors you like and enhance it with white gouache
" The best things about memories is making them "
martes, 15 de septiembre de 2015
Ref 896.- Watercolor .---- Freezing Technic
Frosty patterns can be captured on watercolor paper by actually freezing liquid watercolors on the paper , However, I took advantage of this technic, in order to make some layers over it, with transparent and opaque (gouache) properties of watercolor), Through this particular exercise, I used a large sheet of plastic to cover the entire painting while it was drying. This will not only give a unifying texture of exposition but will slow the drying process so that I can add more colors layers with the help of additional water right under the plastic
Final result of this process
How I did it
The refference was taken from a picture from the WEB so this is a reproduction but with a different technic
Step 1.- pencil minimal lines for sketching; in this example over cold press paper 240 g/m2 rough grain Gvarro gummed on one side, acid free
Step 2.- Basically dark watercolor colors keeping white áreas some of them cover it with masking fluid
Step 3.- With transparent watercolor, I prepared a blue color puddle, which I spread widely, but before that I took away the masking fluid over fine detailed white spots
Final result of this process
How I did it
The refference was taken from a picture from the WEB so this is a reproduction but with a different technic
Step 1.- pencil minimal lines for sketching; in this example over cold press paper 240 g/m2 rough grain Gvarro gummed on one side, acid free
Step 2.- Basically dark watercolor colors keeping white áreas some of them cover it with masking fluid
Step 3.- With transparent watercolor, I prepared a blue color puddle, which I spread widely, but before that I took away the masking fluid over fine detailed white spots
Step 4:- Before dry I overlaied a plastic over it but before that I sprayed additional wáter to kept wet then I put into the fridge, as this is my first exercise with this new technic, my painting is relatively small
Step 5.- After a couple of hours on the fridge I gently mopping up the excess water and ice as the painting begins to thaw,
Step 6.- I decided to do it again but now with gouache watercolor paint (less transparent), you can see now, more vivid colors on this layer and more satisfactory for the underwater view purpose
Final thoughts
- I need to work more in this technic, but mixing transparent and opaque watercolors are giving me a lot of blending ideas.- the correct freezing method should be: dip the paper in wáter .- pour paint into the very wet paper and fridge and/or put outdoor if you live far in the North to Works its magic; for a frost pattern to form.- bring in the paper and thaw it out. when it dries completely, you can enhance the pattern by exaggerating the fractures with detailed brushwork
Suscribirse a:
Entradas (Atom)