Ref 1125 & ref 1124 Watercolor // Diluted graphite as underpainting then granulation médium over cold press Fabriano paper 140 lbs
Granulation medium.- will occur naturally basically on certain blue and earth pigments separate from the wash and settle on the support to create an interesting granular texture. However the effect can be artificially triggered in any color with the use of granulation medium. You can vary the level of granulation and tailor it to your subject
The following exercise, was made after some tests and intents to reinforce the effect, therefore I started by sketching through diluted graphite with a brush, to get the most of it; Color and materials needed are indicated through the following main steps
1st Step preparation.- In order to reinforce the background texture we need powdered artist´s charcoal which will be added in a pool of wáter, in order to sketch some background reference lines onto dry watercolor paper
1st Step loose sketching activity
2nd Step.- The result is an interesting texture after you spray the área with a pump sprayer (this will help set the texture) also I added a Little bit of yellow color to start adding background color, once has been settle rinse off the entire paper with clear wáter from a gente sprayer or in a sink, let the paper dry and assess the pattern (you can repeat the technique for more texture if you want to)
3rd Step.- Planing Step.- to add masking fluid, at the upper side (branches) the masking fluid has been diluted 1:1 for random spattering at the lower side masking it is added to start conforming the rocks and save shape ligths
4th Step.- Granulation ; Some pigments, tend to precipitate or break up, naturally when mixed with wáter resulting in a grainy appearance, However I´m triggering artificial granulation through a comercial medium which is applicable when you want to add interesting dimensions to otherwise flat areas, as it gives a marbled appearance to colors that normally have a smooth wash, or improves the granulation effect of the colors, for me works best if you Make a paint pool + granulation medium then apply paint
4th Step application, I did a combination of sap Green, and ultramarine blue, to start applying accordingly
Close up of this effect as it dry
5th Step.- Once it drys throughly, I start adding yellowish color to suggest leaves
6st Step.- As I´m working trying to darker more some shadows and spots, I´m passing a round long brush tilted enough (almost horizontal) to lift out color of this application step, to start suggesting sunshine ligths
7th Step.- Final details; I take away masking fluid I shape the rocks playing with Payne´´s grey + ultramarine + White then let dry completely again before add the final sunshine ligths with same long round brush handeled in almost horizontal way to conform the gleams of ligths this time with permanent White gouache integrating with absorbent paper to fade away all surroundings
Additional Notes and Bonus Painting:
- Granulation médium works pretty fine in semi-opaques color
- More médium + less paint = granulation
- So sad to say, yellows did not show granulation, or oranges. Although, when I swiped some non-granulating Ultra Marine Blue (Green Shade by Da Vinci) into some yellow, it showed granulation. It may be a perfect way to granulate your favorite mixed greens
- My tests will compare the paint pre-mixed with medium in a puddle of water and in a puddle of medium. Both worked well with most colors, but the puddle added more granulation.
- You can paint wet on dry with the pre-mixed Medium/Paint and get granulation, although either some damp or wet paper worked best for me.
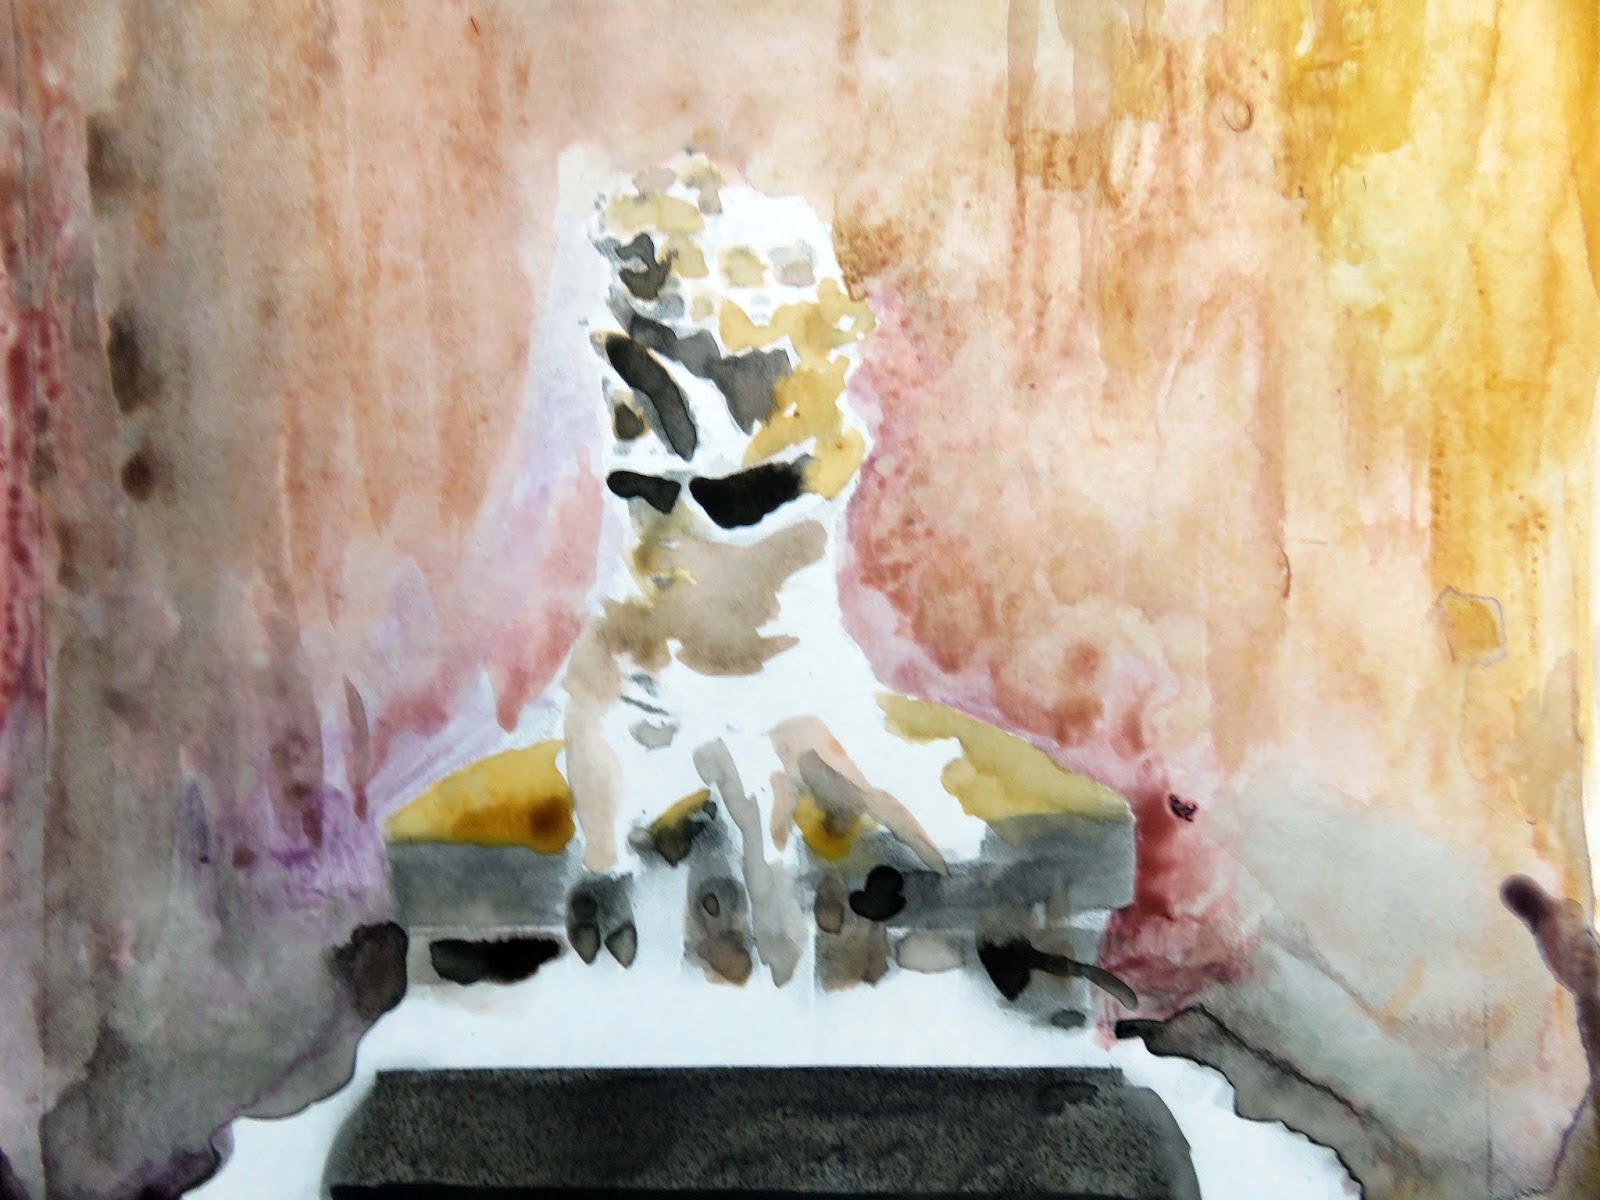
The following painting is made just with granulation médium without diluted graphite but with masking fluid to protect whites as underpainting
Ref 1124 "Forest Dance"